A few years ago we updated our laundry room and gave it a budget-friendly laundry room makeover. Full details on the make over are here, but one significant choice was using peel and stick floor tile for the flooring. Since then I have received many questions about using it so here are common questions with a few photos from our makeover project.
What is peel and stick floor tile?
Peel and stick floor tiles, also known as self-adhesive floor tiles or vinyl tiles, are a type of flooring that comes with an adhesive backing, allowing you to simply peel away the backing and stick the tiles directly onto your existing floor.
What are the benefits of using peel-and-stick vinyl floor tiles?
Some benefits are that they are easy to install without any glue or mess, affordable, come in many styles and colors, are durable and scratch-resistant, and allow you to upgrade floors without removing old flooring. We went with light a gray to brighten up the room.
What areas of the home are peel-and-stick vinyl tiles suitable for?
These tiles are great for kitchens, bathrooms, laundry rooms, basements, and other areas prone to moisture and heavy foot traffic. They are not suitable for exterior use, but worked well for our basement. I bet they could work in a mud room too.
Do I need any special tools to install peel-and-stick vinyl tiles?
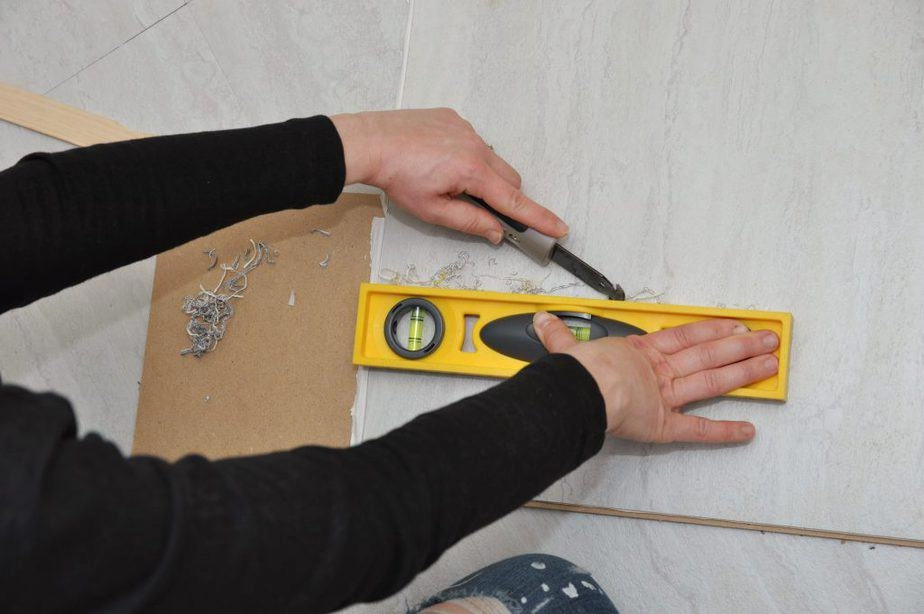
No special tools. All you need is a utility knife, straight edge, measuring tape, pencil, and rubber mallet or roller. Make sure the floor surface is clean and dry first.
How long does it take to install peel-and-stick vinyl tile flooring?
Installation is quick and easy. For a 10×10 ft room it may take 1-2 hours for a DIY beginner. Larger rooms will require more time. Allow the adhesive to set overnight before regular use.
Can I install vinyl tiles over existing flooring?
In most cases, yes. Tiles can be installed over sealed concrete, sheet vinyl, laminate, hardwood, and tile. The key is making sure the existing floor is smooth, clean, and dry first.
Can I put peel and stick tile over linoleum?
Yes! Make sure to clean the surface really well first to get the best adhesion. It’s a great way to upgrade the old flooring without removing it.
How do I cut the vinyl tiles?
Use a sharp utility knife and straight edge as a guide to score and snap off excess tile. Make sure to leave a small gap between tiles and walls for expansion.
Can I use peel-and-stick vinyl tiles on walls or ceilings?
Vinyl tiles are for flooring use only. Do not adhere them vertically as they are not meant for walls or ceilings. No telling what damage they will do to walls.
How durable and waterproof are vinyl peel-and-stick tiles?
They are highly durable for residential use. The vinyl surface resists scratches, stains, and water. Follow manufacturer’s instructions for cleaning and care. Avoid standing water.
Hopefully this helps and best of luck on all your DIY makeovers and here’s a few more tips on the installation process.
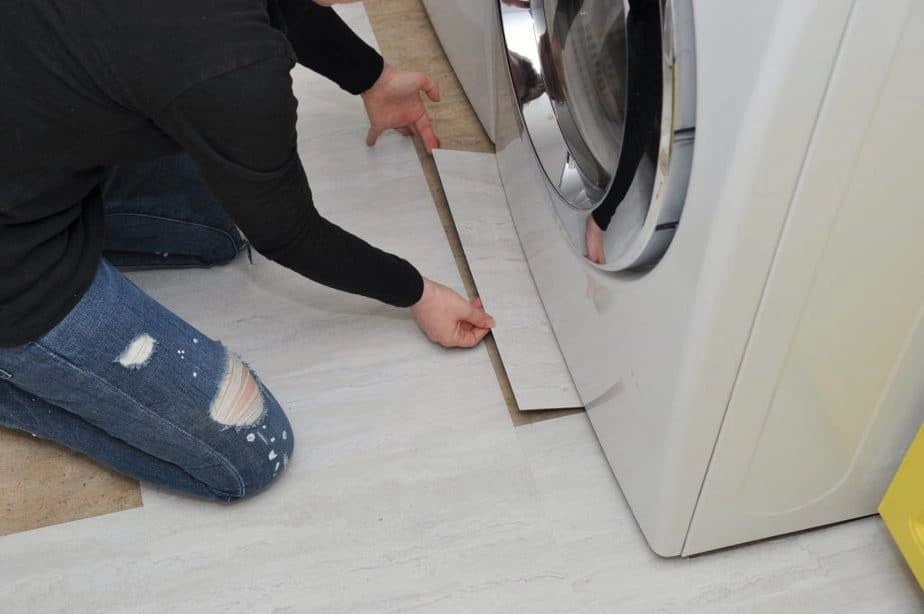
How to install peel and stick floor tile.
Installing peel and stick floor tiles is a straightforward process. Here are the basic steps:
- Prepare the Surface: Ensure that the surface is clean, dry, and free of any debris or dust. If necessary, use a mild cleaner to thoroughly clean the area.
- Measure and Plan: Measure the area where you want to install the tiles and plan the layout. I recommend starting in the center of the room for a balanced appearance.
- Cut the Tiles: Using a utility knife or sharp scissors, carefully cut the tiles to fit the desired shape or size. It’s a good idea to leave a small gap between the tiles and the walls to allow for expansion.
- Peel Off the Backing: Peel off the paper backing from one corner of the tile, exposing the adhesive.
- Place and Press: Position the tile in the desired location, aligning it with the edges or the previously laid tiles. Press firmly on the tile to ensure good adhesion.
- Continue Installation: Repeat steps 4 and 5 with the remaining tiles. Make sure to align the tiles properly and maintain consistent spacing between them.
- Trim as Needed: If any tiles need further trimming or adjustments, use a utility knife or scissors to make the necessary cuts.
- Allow Settling Time: After installation, it’s best to allow some time for the tiles to settle. This can help reduce any potential crunchy sounds or movement.
Remember to follow the manufacturer’s instructions specific to the peel and stick tiles you’ve chosen.