Finding the best art supply storage idea for kids has seriously been the bane of my existence for what feels like ages. And I’ve pretty sure the lack of organization around art supplies has given me more than a few gray hairs. But I was able to find some great items and ideas at Ikea for art supply storage.
The art supply storage solution I am sharing today helped solve two challenges that have been driving me bonkers for quite some time (and contributing to my very expensive hair salon visits to manage that gray hair problem I mentioned above):
Arts and crafts supplies have been in a constant state of disarray. Coloring books, beads, a million crayons and markers, stencils, stickers…. You name it, we have it, and all of it always seems to wind up scattered throughout every room in our house.
Sound familiar? Do your kids’ art supplies seem to mysteriously multiply? Does it feel like they’re taking over a kids playroom in your home?
Like if Hansel and Grettel lived in my house, they would’ve left a trail of sequins or pom-poms or crayons, not bread crumbs.
But guess what? Today’s the day we’re going to tackle the art supply craziness….together.
This is a long post, but I’m hoping it will be helpful to you. And organizing our craft items wasn’t a lengthy process, I promise, but I do want to tell you exactly what I did and how I did it so that you can implement this in your own home.
Getting Organized: Taming the Arts Supply Storage Beast
Here are some nice “before” shot of our horribly unorganized cabinet that used to house all my daughter’s art supplies.
So embarrassing.


Here’s how I used Ikea products for our art supply storage:
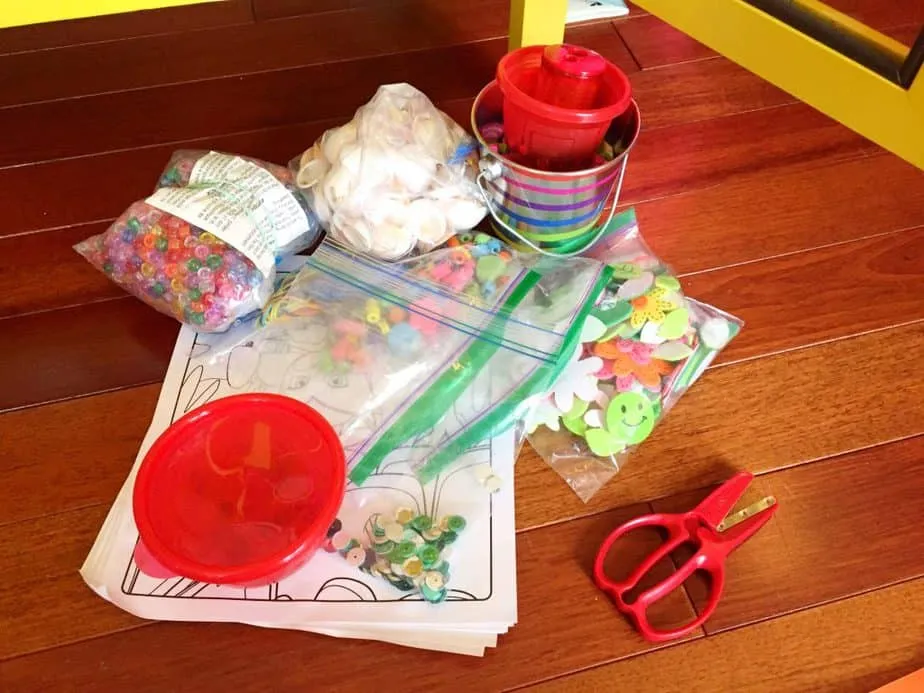
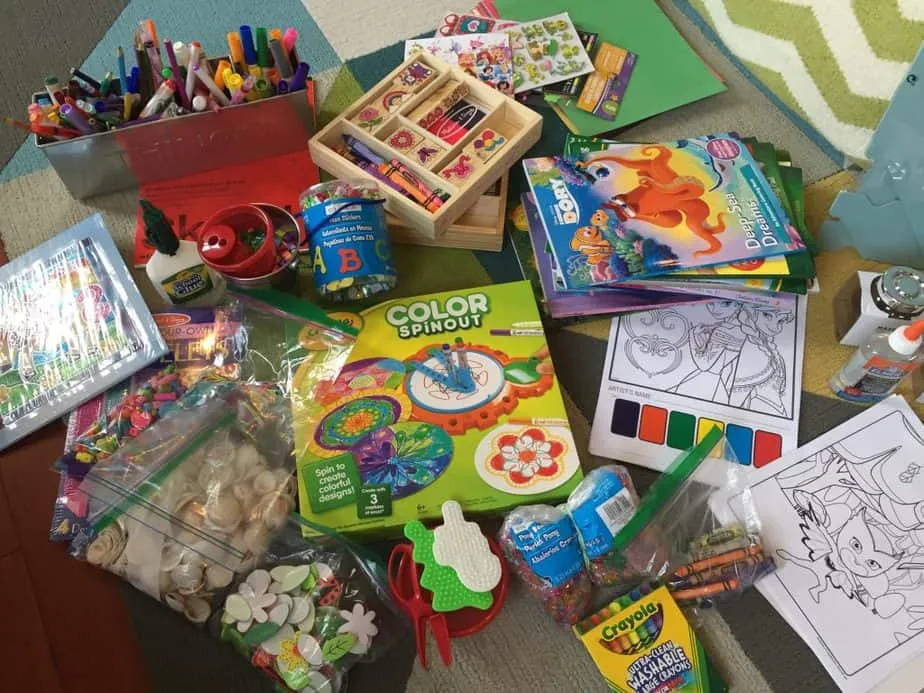
Unload everything in your current arts and crafts area, and put it on the floor where you can see it.
I do mean everything. I recommend you go KonMari on your supplies (if you don’t know what “KonMari” means, you need to read this book), walk through your house and gather every single crayon and coloring book from every room, and put them all out on the floor. This way you can see everything you have, and decide what’s worth keeping and what can immediately be discarded. And that brings me to step two…..
Throw away anything your kids haven’t used in the last six months, and anything you know they won’t use in the next six.
Make sure to thumb through all your coloring books. Are 50% of the pages colored? Are any of the pages or covers ripped? Get rid of ’em. Make sure to weed out things like broken crayons, markers that are dried out (yes, grab a piece of paper and test them!), sheets of stickers where most of the stickers have already been used, and seasonal craft kits that are inexpensive enough that they’re not worth holding onto until, say, next Christmas.
I also threw out some coloring and activity books that weren’t heavily used but were getting to be too “young” for my daughter. It’s easy to feel bad about throwing things out, but over the years I’ve learned that you need to be honest with yourself. If your kids aren’t using something regularly, why is it taking up precious space in your home?
Take inventory of what is left, and separate the remaining items into piles on your floor, grouping similar items together.
In my case, we had a ton of coloring books and crayons, a couple craft kits, and plenty of beads and other items for making necklaces and bracelets — those were the dominant “categories” I identified by looking at what remained. By gathering like items together, you’ll have an easier time figuring out what kind of storage you need for each category.
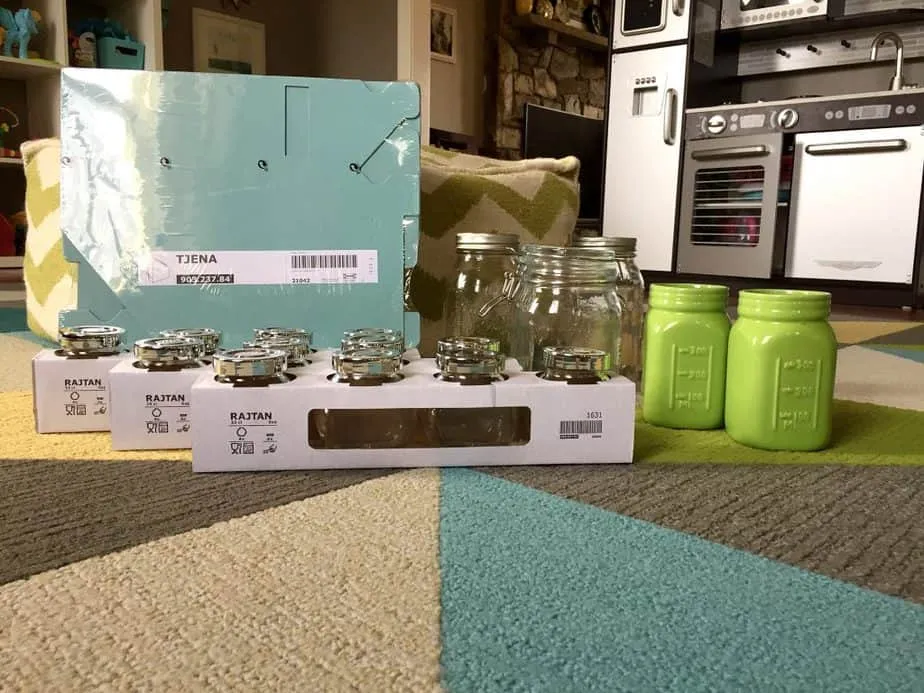
Find Ikea storage containers that will work well with your items for art supply storage.
Now that you know what items you need to keep and store, you can start looking for the appropriate storage options. In my case, I knew we had tons of coloring books and lots of small items like beads and sequins to corral, so I picked up a few storage items on a recent trip to IKEA before sorting through everything.
I’d usually recommend, though, that you wait until you’ve sifted through everything before running out to purchase storage containers. That way, you can make sure you purchase containers that work well with the items you have, and don’t waste your time and money on storage solutions that might not be that useful to you over the long haul.
Here are a few of my favorite Ikea art supply storage items
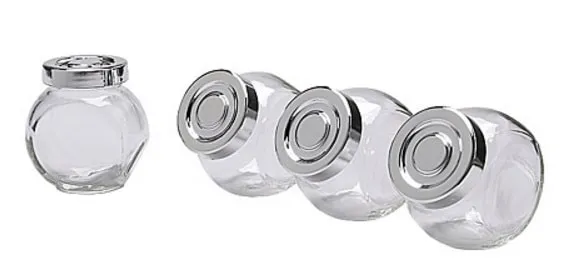
IKEA Rajtan Spice Jars:
These little guys are fantastic for housing tiny decorative items like sequins, pom poms, beads, and more. I purchased three packs and only used two, so I placed some extra jars in the top of H’s desk for later, as I know our Ikea art supply storage collection will inevitably grow.
IKEA Fjalla Magazine Files:
These magazine files ended up being the perfect art supply storage solution for all our coloring books. We also store construction paper, handwriting paper, and small notebooks in here. These are a great deal, too, costing just $4.99 for a pack of two.

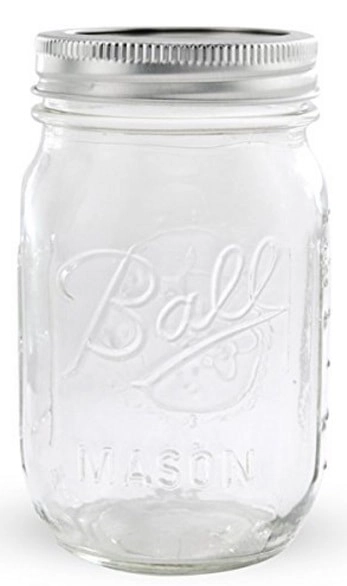
Mason jars:
These are great for holding large quantities of things like beads and seashells. My daughter loves making bracelets and necklaces, so having bead storage that her brother can’t break into is essential for us. Luckily I had a handful of unused mason jars in my pantry, so I didn’t even have to purchase any for this organization project.
One thing I like about these is that they’re a little difficult for little kids to open, which is good because any project that involves beads or other small objects needs to be supervised with little ones.
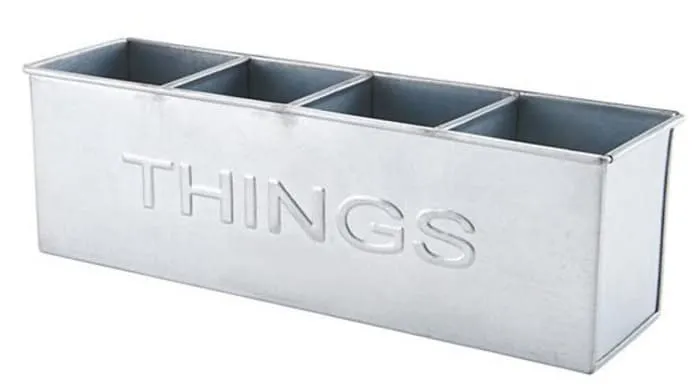
Land of Nod “I Could’ve Bin a Silver Things” Bin:
Ok so not Ikea, but also really useful. The Land of Nod is one of my favorite sources for finding super stylish kid-friendly items that appeal to the whole family, especially for art supply storage. One of my favorite storage pieces I bought a couple years ago is this silver bin (other colors are available) with four compartments. It is the perfect spot for our crayons, markers, colored pencils, and twist-up crayons, because as much as I’ve tried to get my daughter to put coloring supplies back in their boxes, it never seems to work.
The best part is that it makes it so easy to transport coloring supplies from room to room if needed, and also gives my daughter a single spot where she can put all the aforementioned items away. I’m hoping I never have to hear “But I can’t find the green!” again.
Place all the art supplies in their new respective homes.
Stand back and admire your work. If you have any stray items that you didn’t account for, you can think about another storage solution for them, but should also ask yourself if those items are ones your kids are actually going to use in the near future.

Now that all those craft supplies are looking nice and tidy, it’s time to find somewhere to store those so that they’re both out of reach of tiny hands, but accessible for your older children.
Here are the results of my Ikea art supply storage project
Prior to starting this project, I had been doing some research on desks. I wanted something:
- Reasonably priced, and preferably not more than $100
- Large enough for my daughter to have ample room to do a craft project, but not so big that it would visually swallow an entire corner of our playroom
- With cabinets and/or drawers that can accommodate child safety locks (Hello, little brother!)
- Neutral in color and minimalist in style — basically something versatile enough that can grow with my daughter as she gets older and would complement any kind of decor
After checking out dozens of desks online, I settled on one from IKEA. So far, it is working out perfectly.
I present to you…the MICKE desk!
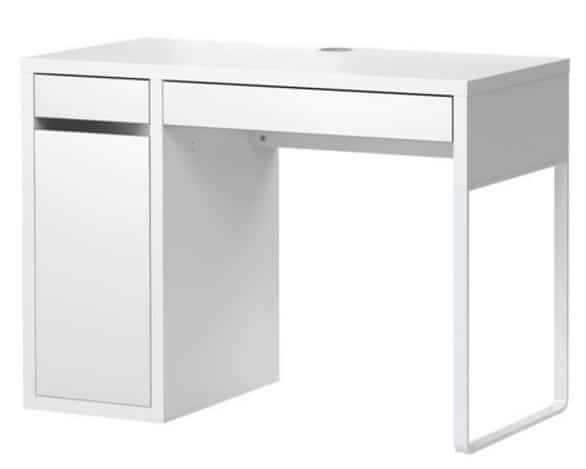
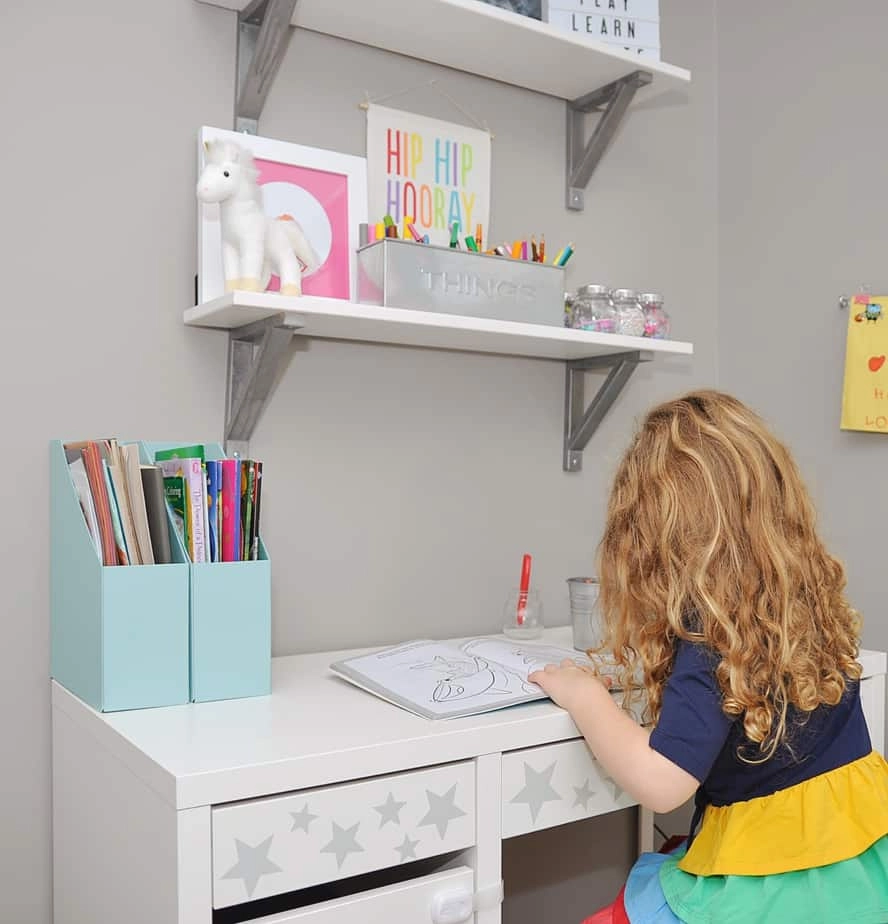
This Ikea desk wound up being the perfect solution for kids. I also purchased two white EKBY shelves, spray painted the brackets to make the finish look like brushed nickel, and then mounted those over the desk.
Right now many of the items on the shelves are decorative, but our Ikea spice jars and the silver bin of coloring supplies both live there. And as our art supply collection expands, I can find a new home for some of the decorative elements and place more supplies on the shelves, especially those that I want to keep out of reach of the littlest one.


I placed the mason jars of beads and shells — along with a set of stamps, a bin of stickers, glue, a few Melissa & Doug craft kits, and more — in the large cabinet on the left. I then placed other items like stencils and the extra IKEA spice jars in the top drawers.
I wanted to add some personality to the desk, too. Want to hear about the easiest IKEA hack ever? I ordered a sheet of these removable star decals from Amazon, and placed them on the cabinet and drawers. (Bonus: They come in a zillion colors!)

Here are a few more photos of how I stored items inside the cabinet and drawers:


And a couple more photos of my daughter and her new desk for good measure!
Phew.
If you’ve gotten to the end of this post, THANK YOU. You rock! I know it was a long one, but I hope you found some helpful tips for organizing your childrens’ arts and craft supplies.
Like this post? Pin it! Thanks so much!
Amber Smith
Sunday 16th of August 2020
I love how the desk turned out! Plus, all great storage ideas, I will have to try some! Can you tell me what that art picture hanging display is on the wall?
Thanks!
Kate
Monday 17th of August 2020
Hi Amber -- Thank you, I'm so glad the storage ideas were helpful! The art display on the wall is something I DIY'ed for about $10. I have a post all about it right here: https://www.katedecorates.co/easy-diy/how-to-display-kids-artwork-at-home/