Last year—on January 1st, to be exact—we ripped the carpeting off the stairs that lead from our main level to our upper level.
Did we have a plan for what to do next at that very moment?
Not really.
However, our beloved pup had an, uh, accident … which prompted us to tear up that carpeting.
We tried *so hard* to get the stain out with every cleaning product under the sun (or under our kitchen sink). But we soon realized it wasn’t going to budge.
Here’s the dog at the scene of the crime, looking oh-so-guilty:
Our DIY staircase makeover: The plans
At that point, we figured there was no time like the present to embark on a project that’s been on our to-do list for years: Redoing our staircase.
Let’s just say that this project was long overdue—meaning that this space has been U-G-L-Y since the day we moved in—and our dog was the final motivator for us to finally bite the bullet and get it done.
The project would include removing the old carpeting, painting or staining the stairs (we weren’t quite sure which option was our favorite yet), and repainting or re-staining the banister.
While that simple list of tasks doesn’t sound all that time consuming, it is! Especially for our busy family, including two adults with full-time jobs and two kids with very busy school and sports schedules.
Oh, and did I mention the dog who loves to run up and down stairs constantly?!
But as the saying goes, “Good things take time.”
And so we set out to tackle this makeover knowing that it wouldn’t exactly be a one-weekend project.
We also knew that it would be worth the wait. And thankfully, we were right.
Our DIY staircase makeover: The process
While my husband did most of the manual labor related to the staircase makeover, I have to admit that we weren’t quite sure how the project would go, mainly because before ripping up the carpeting we had absolutely no idea what condition the wood would be in underneath.
Lucky for us, it was in fairly good shape.
So after ripping up the carpet, my husband did some sanding.
And more sanding. And some more sanding. And some more sanding.
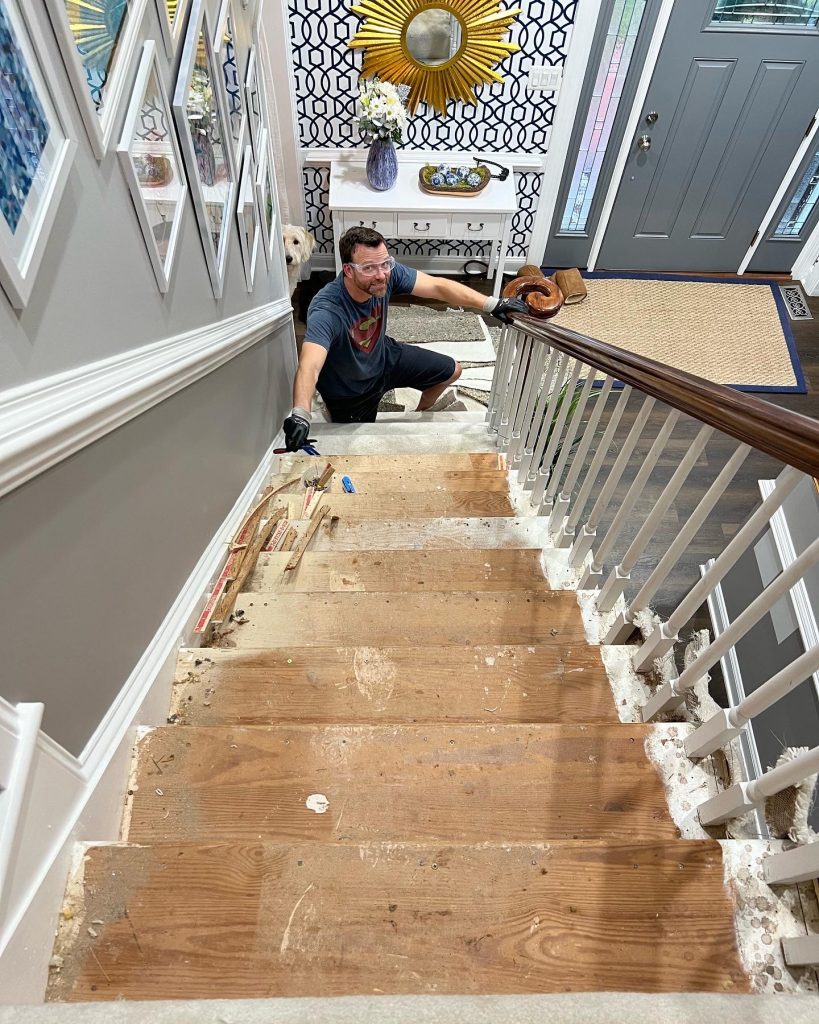
Then he added some wood filler in any gaps. And sanded some more.
This was tedious, and without a doubt the longest part of the process. But once it was done, the stairs were ready to be—in our case—primed and painted (more on why we chose to paint our stairs in a moment).
Is it better to paint or stain stairs?
There’s no single answer here, unfortunately, and the right decision really boils down to what condition your wood is in.
While the wood on our staircase was in decent shape, we used quite a bit of wood filler to repair some gaps we found during the sanding process.
And here’s what we learned: The more wood filler you use, the less likely it is that the stain will work well (and look good) on your stairs.
We did stain one step to test the look, and frankly it looked splotchy thanks to the massive amounts of wood filler we had to apply.
Take a look at our “test” stair:
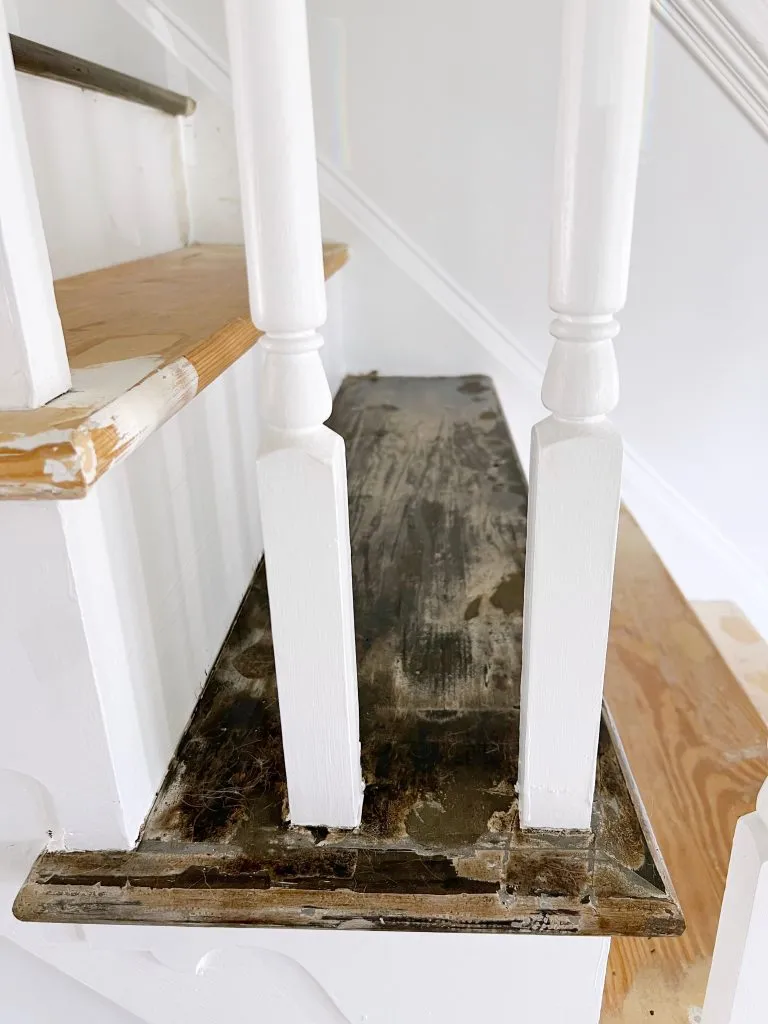
The wood filler pretty much killed our chances of staining our steps.
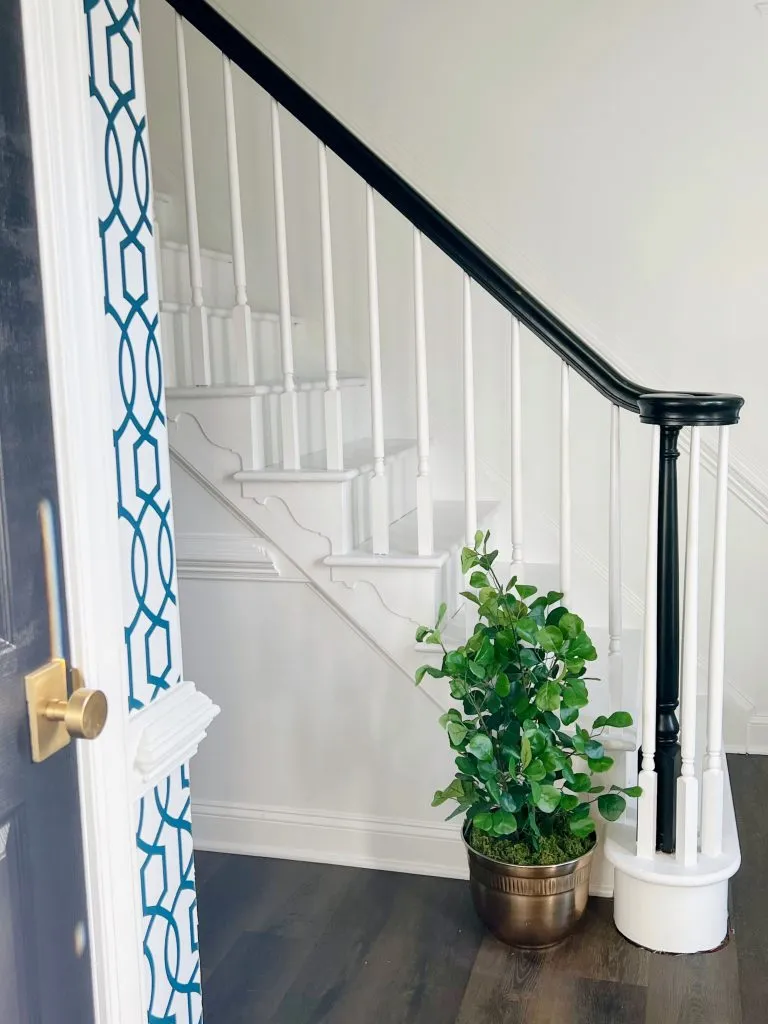
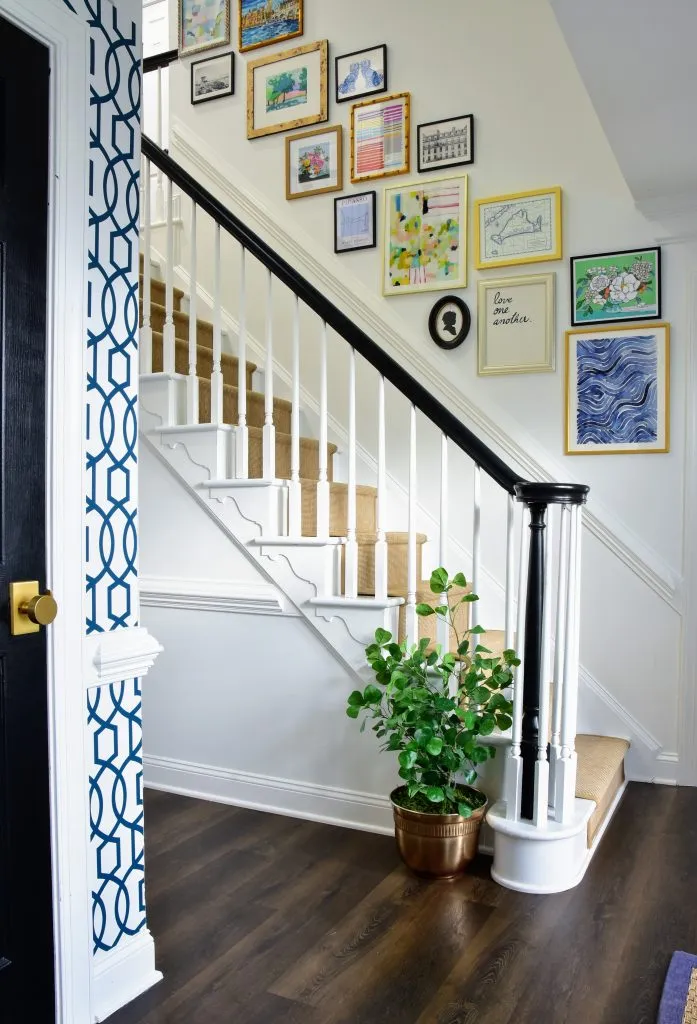
So we instead chose to paint the steps white and then lay down a neutral stair runner.
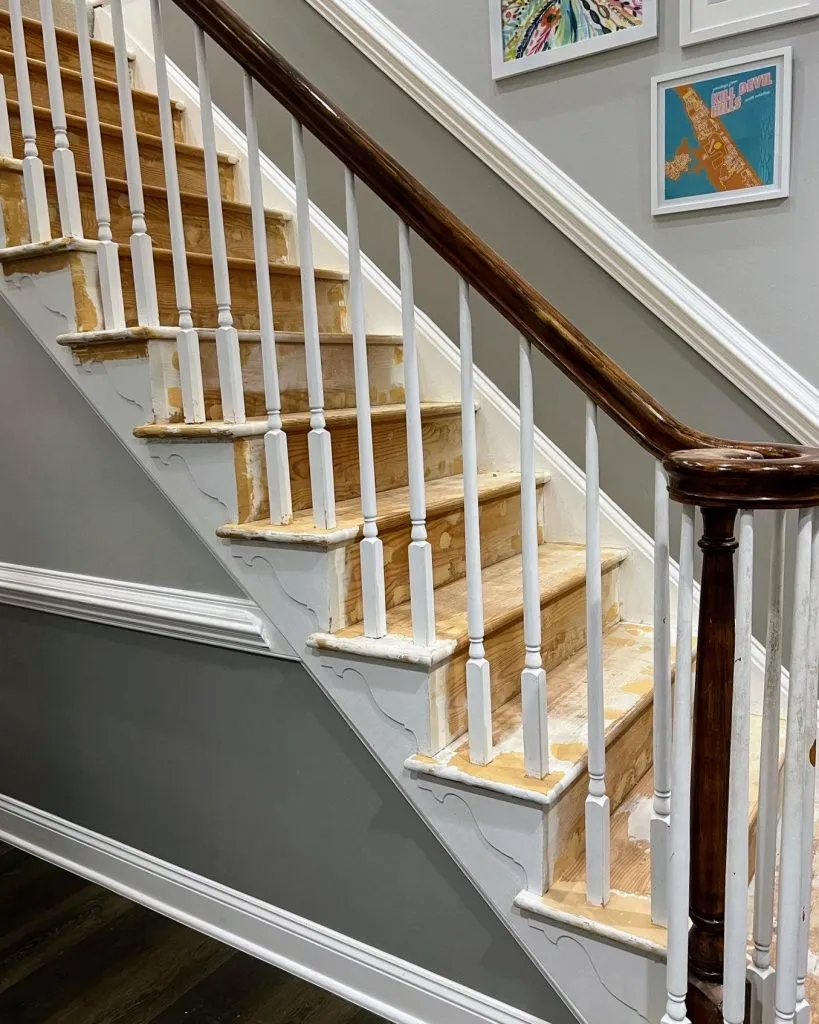
Here’s a quick (albeit blurry!) iPhone snap of the stairs after we painted them white:
Choosing the right stair runner
Selecting a stair runner that’s right for your home is a very personal choice.
While I typically gravitate toward colorful rugs in most rooms of our home, this time I prioritized durability above all else.
With two active kids and a crazy dog, we needed something that would look great and withstand a lot of foot traffic.
I chose an indoor/outdoor sisal-style runner from Sisal Rugs Direct, and after just a few months of it being installed, I can confidently say it was the right decision.
Here’s a close up of the one we chose (more details coming in a minute):
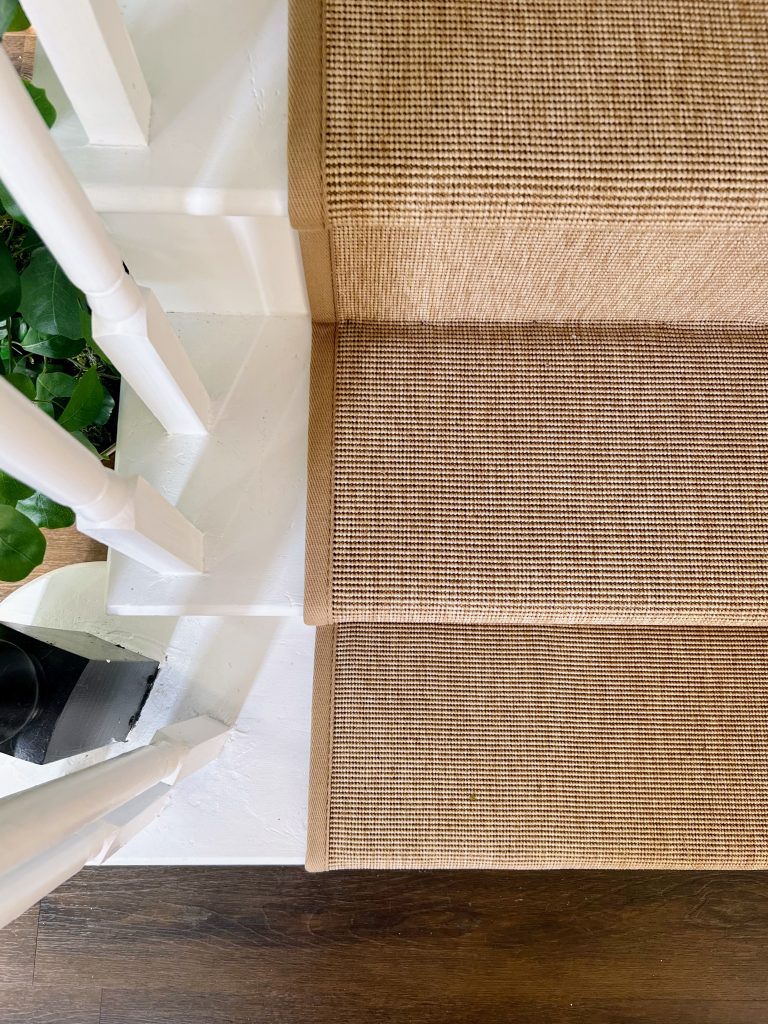
Our runner is from Sisal Rugs Direct’s Belize Outdoor Sisal Polypropelene collection.
The great part about all their rugs is that you can customize nearly every aspect: the rug color, the border color, the border with, and more. We settled on dune for our rug color, and granola as the border (granola is the closest match to dune, according to the website).
We had the runner professionally installed, and so far we absolutely love it!
Here’s a look at the runner the evening after we had it installed:
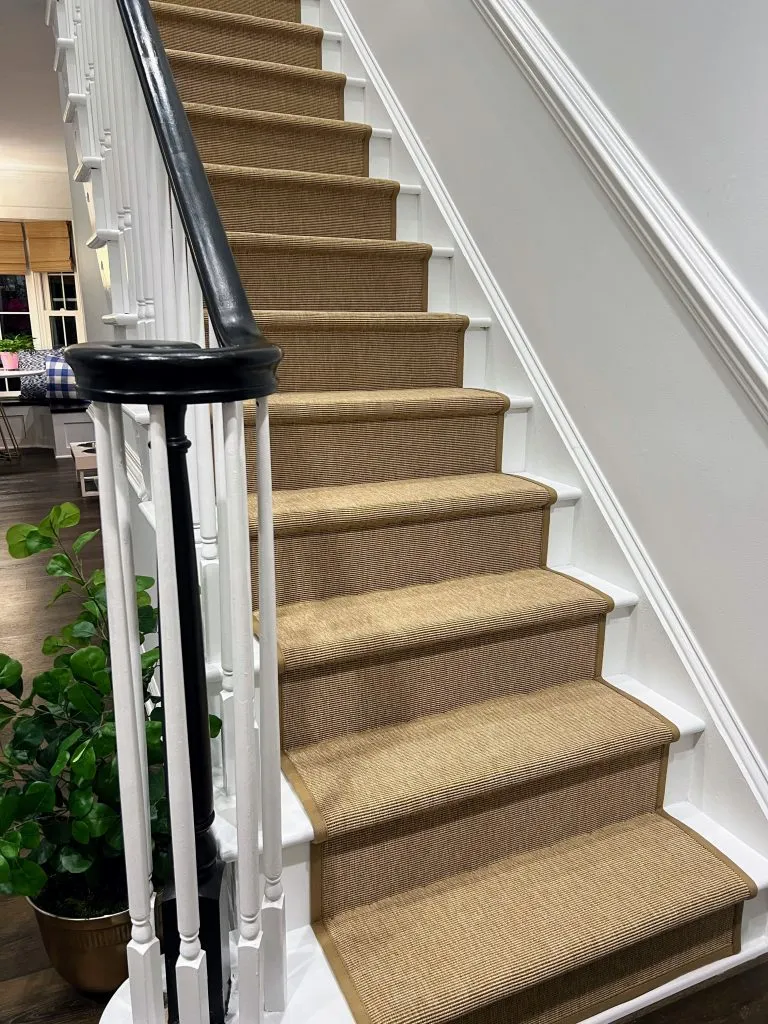
It still looks brand new today despite the fact that the kids, the dog, and us adults walk (or run) up and down it constantly.
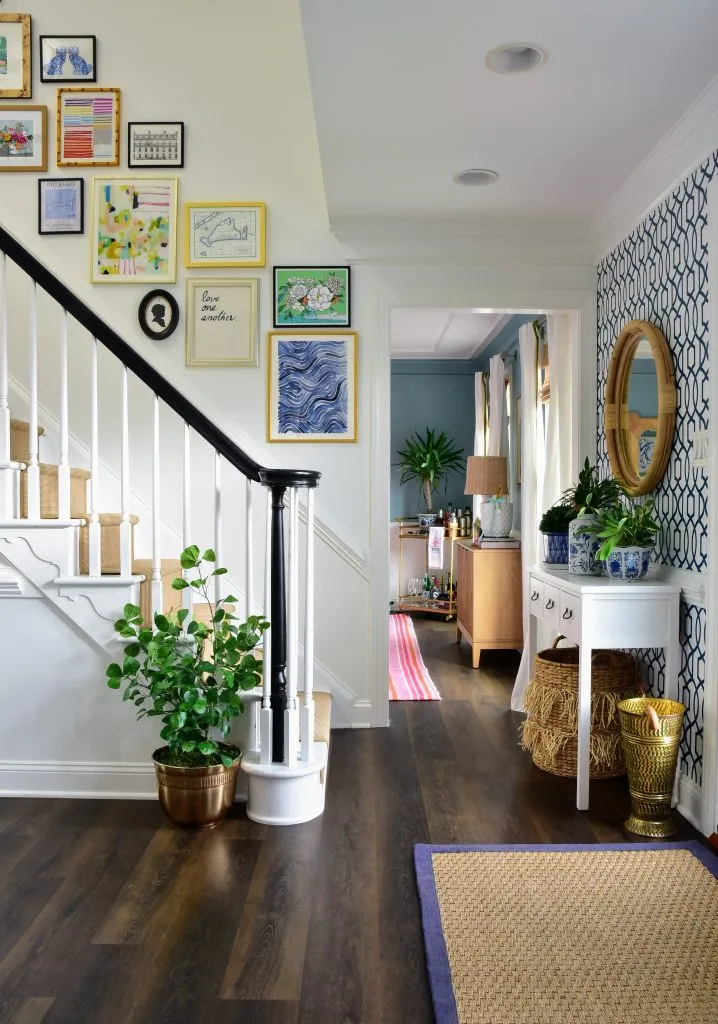
Adding an art gallery wall going up the stairs
The final step in our staircase redo was perhaps the most fun part of the project: Creating an art gallery wall.
With the help of Minted, I was able to mix some new pieces with others I’ve owned for years to create a fun, colorful art wall that makes a statement … which was important because this space is one of the first things you see as you enter our home!
I mocked up a number of art options in Canva to see what they looked like together. While I didn’t wind up purchasing all of them, I did buy most and I absolutely love the way they all look together!
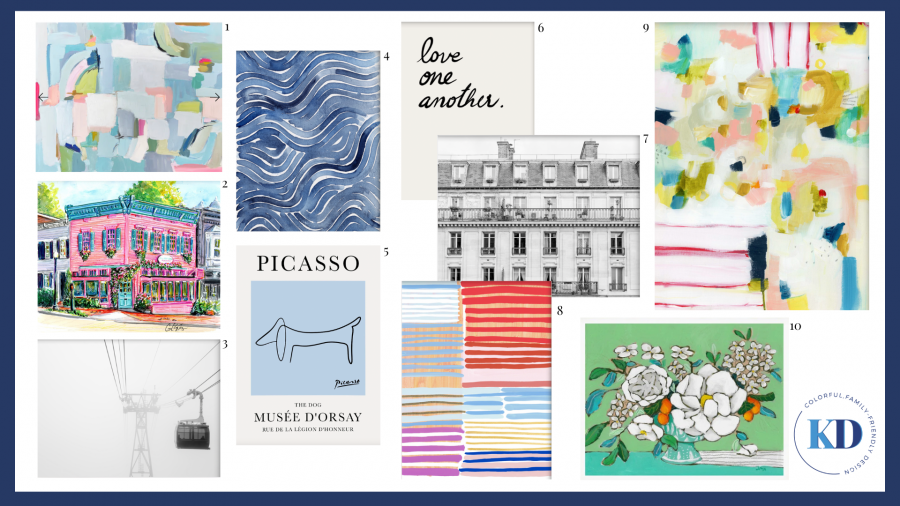
Here are direct links to all the prints I considered:
Five of the 11 prints I thought about buying were from Minted:
- “Playful Tide” by Kristine Sarley
- “Love One, Love All” by Maja Cunningham
- “Days in Paris” by Jessica C. Nugent
- “Peach Party Two” by Katie Craig
- “Flip Flop” by Lindsay Megahed
I also incorporated several art prints that I purchased from other favorite artists directly, such as Maren Devine and Jennifer Allevato.
I included some printable, digital art pieces, too.
Once all the art pieces finally arrived, it was time for the final step in our project …
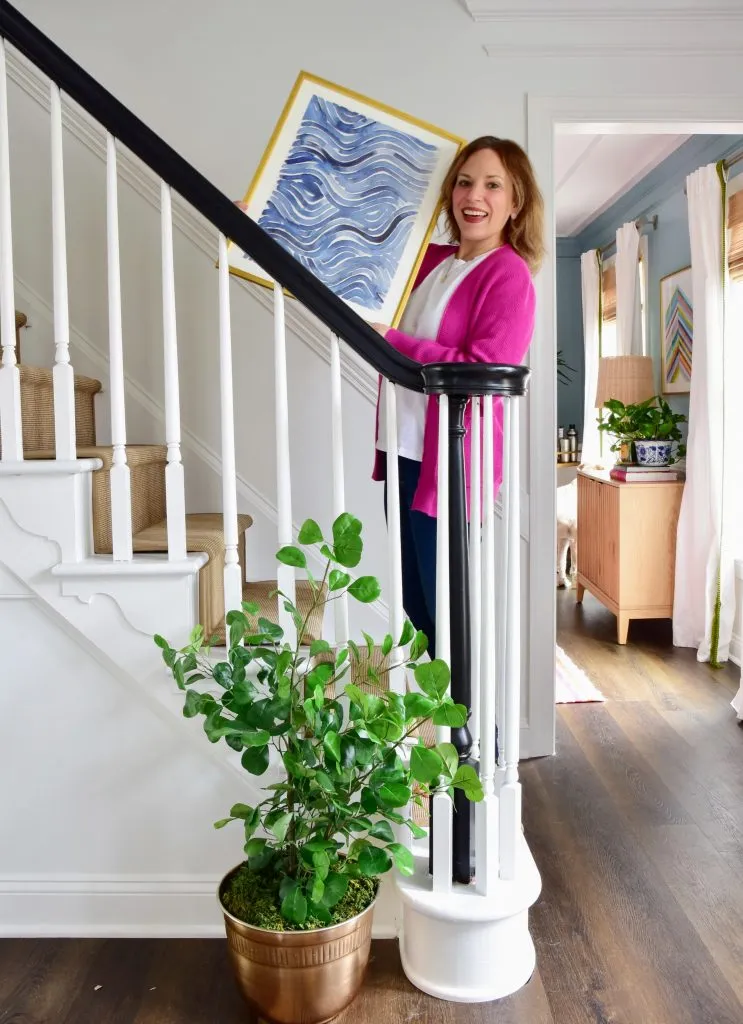
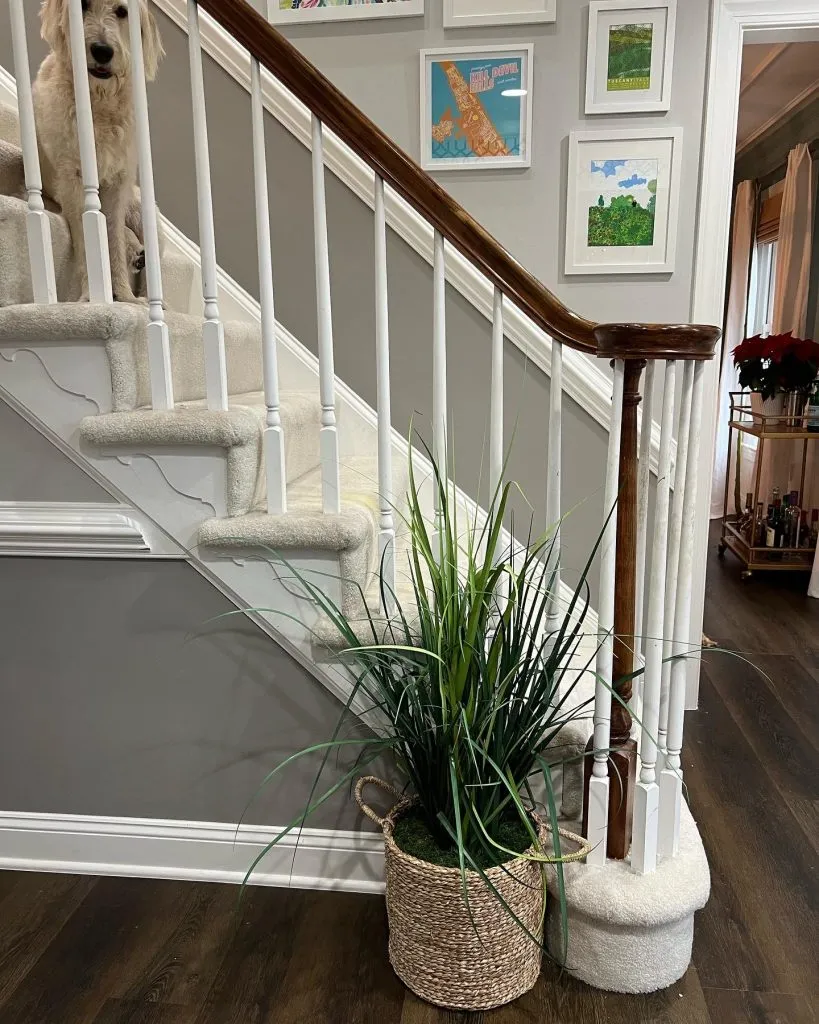
Reveal photos of our staircase makeover and new art
The photos of the space don’t do it justice.
But trust me when I say I absolutely love the end result.
Truly, our new staircase is such an incredible improvement over the bland entryway with decades-old carpet that was there before.
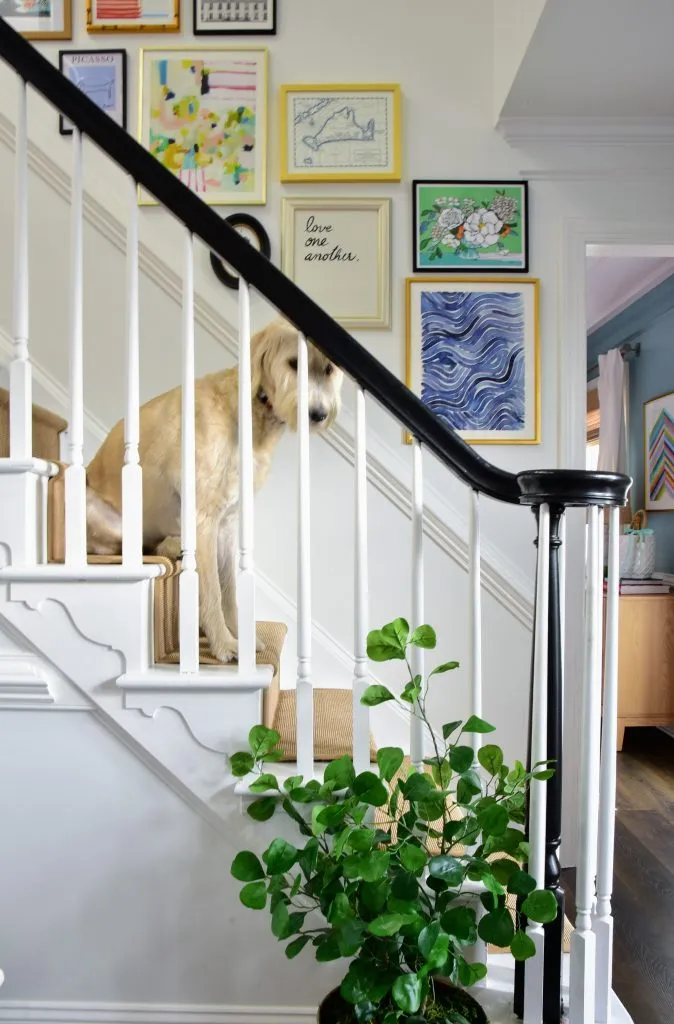
Here’s another view that includes more of the artwork:
I laughed out loud when, during this little photo session, the dog decided to sit right in the middle of the staircase. Talk about irony.
What do you think about the facelift?
Have any questions about our staircase reno that I didn’t address here?
Leave your question below in the comments section and I’ll be happy to answer.