

Who doesn’t love a rustic wood pallet sign featuring an inspirational quote? They’re everywhere. In your favorite stores, on HGTV shows, featured in blog posts with intricate “how to” instructions (oh, the irony). The list goes on and on.
I’ve purchased my fair share of these kinds of signs and many are adorning the walls of my home, but I’ve always wanted to make one myself. However, every time this ambition pops into my head, the internal dialogue then goes something like this:
I don’t own a diecut machine, so how will I make myself a stencil to use for the lettering? Gah.
Do I really want to go track down a wood pallet, get out some tools that I sort of know how to use (read: beg my husband for help), and spend an afternoon nailing, gluing and staining this thing in the garage?
Yes, I realize this probably makes me sound like the laziest DIY-er ever, but the truth is that most days I don’t have time to spend hours on a project. With a four-year old and an 11-month old, a full-time job outside the home, and plenty of to-dos on my daily checklist, frankly I’m ecstatic if I can snag 30 minutes on a weekend to hit up HomeGoods.
Anyway, when I recently got said 30 minutes to myself this past Sunday, I discovered the easiest, fastest way to make your own rustic wood pallet sign. I completed this project over the course of two nights while watching Netflix. Here are the instructions so that you can do this, too.
How to Create a Rustic Wood Pallet Sign (No Tools Needed!)
- Purchase your materials. I went to Michael’s and bought this pre-made wood pallet sign for $8, along with a Create Décor vinyl stencil (doesn’t look like these are sold through Michaels.com but I think this cost me $8 as well, plus I used a 40% off coupon). Michael’s had an amazing selection of stencils, but you can also find them at other craft stores, on Etsy and Amazon, etc. You’ll also need acrylic paint. Bonus points if you have any stencil paint laying around — it’s a little more expensive than acrylic paint but it truly produces amazing results with stencil projects. Lastly, make sure you have one thin and one thick paint brush on hand. If you have a stenciling brush, use it. I cannot stress enough how much easier your life will be if you own the proper stenciling materials. No, it won’t make or break your project if you don’t have these items — and yes, they cost a bit more than your run-of-the-mill craft paint and brushes — but I promise that your life will be much easier if you do. Royal Design Studio has a fantastic selection of stencils, stencil paints and stencil brushes, all of which I have used and loved for a previous project.

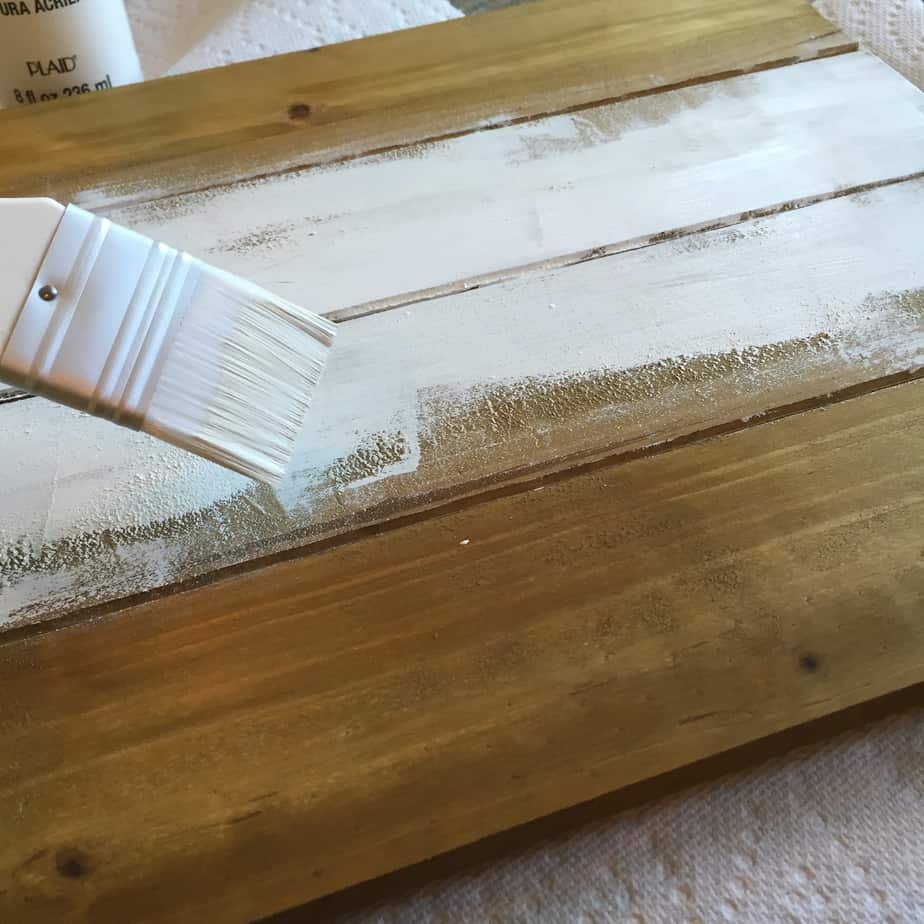
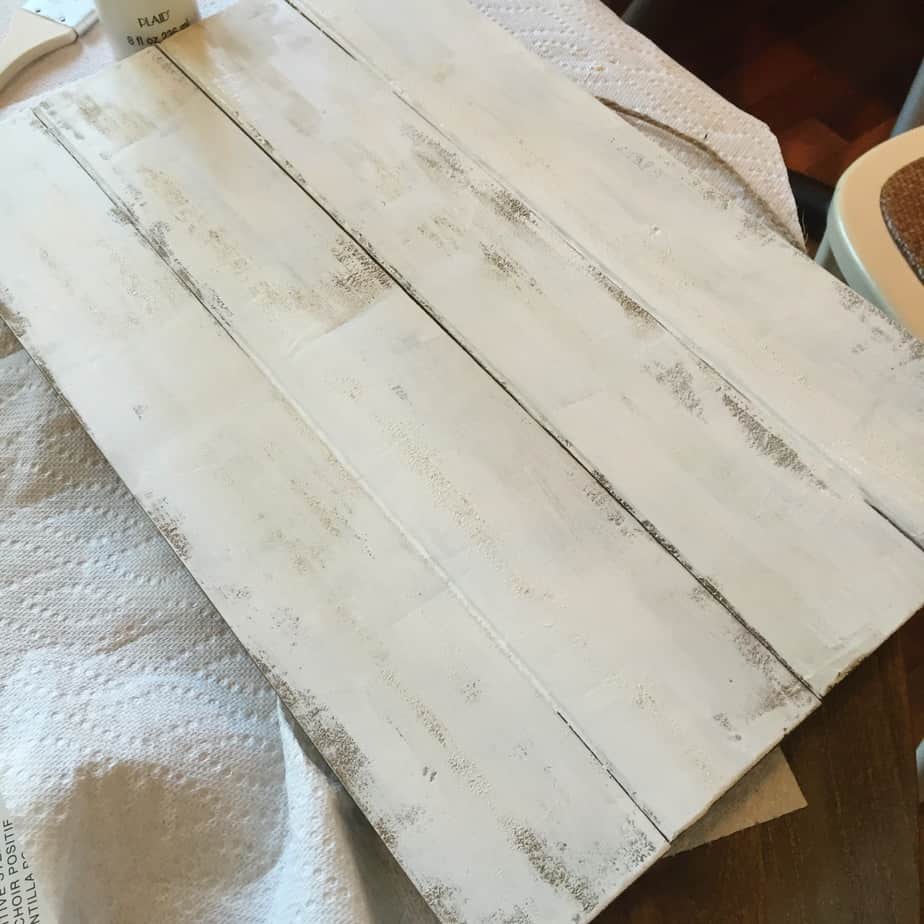
- Paint your pallet sign, then set it aside to dry. If you want to use the natural wood background as is, that’s fine — you can skip this step. I wanted a white background, so I added a coat of paint to the pallet. Use long, horizontal brush strokes with a wider brush for best results. I wanted the sign to have a rustic, unfinished look, so I didn’t worry about covering every single inch of the sign in paint. Then I set it aside and let it dry. (This is the point at which I stopped on evening #1 of this project.)
- Carefully remove the backing from your stencil and place it on the wood sign. Go slowly, as you don’t want to rip any part of the stencil. Once you’ve placed the stencil in the desired location, smooth it out gently with your fingertips to remove any air bubbles and to make sure there is no space between the stencil and the sign.
- Stencil your selected design or phrase onto the pallet. The trick to using stencils successfully and avoiding having paint bleed outside the intended areas is to use as little paint as possible. Less is more, people. Repeat after me: less is more. After dipping your brush in the paint, wipe off the excess on a paper towel. You want just enough paint on here to cover the selected area of your sign. If you’re using a stencil brush, your best bet is to paint in a circular motion. I know that sounds weird, but trust me, it works. If your first coat of paint looks too light, that’s okay. Repeat step #4 until you reach the desired level of coverage.
- Wait about 30 minutes. You can probably wait longer than this but I’m impatient, so….
- Carefully remove the vinyl stencil and admire your new piece of wall art. You’re done!


Here’s a pic of my pallet sign hanging on the wall in my new closet:


That’s it. Easy, right? And the best part is that you don’t need a fancy Cricut machine or any know-how when it comes to operating power tools.
P.S. Like my closet gallery wall? Yep, that photo is of a wall in my new closet. This spot used to be pea soup green, complete with builder basic shelving and fluorescent lighting. My husband and I recently gave the space a makeover (it was a birthday gift for my 34th — er, I mean my 29th). Check out the full master bedroom closet reveal here, which includes a full source list for all the decorative items in my new space!
Andrea
Thursday 20th of October 2016
Looks great. I may have to look for those pallets in store.
Kate
Thursday 20th of October 2016
Thanks, Andrea! Let me know if you find the pallets and make your own sign. Would love to see it. Your IG feed and the photos of your home are so pretty!
Annmarie
Thursday 20th of October 2016
Love this idea and love that there are no power tools required. Great afternoon project.
Kate
Thursday 20th of October 2016
Thanks, Annmarie! I loved the simplicity of this too -- I am a huge fan of projects I can do in front of my TV. ;-)